To install your PoleMaster onto the mount, you will need an adaptor specifically made for your mount. The illustrations below use the Skywatcher NEQ6 mount adaptor as an example, but the instructions apply to adaptors made for other mounts.
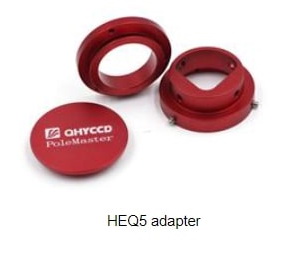
The mount adaptor comes in two parts. There is a camera base disc which is attached to the back of the camera body; and there is a mount ring which is attached to the polar scope aperture of your mount. In use, the camera disc is attached to the mount ring by thumbscrews (the picture below shows the mount ring already attached to the mount, while the camera base disc is held in the hand).
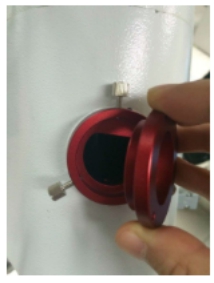
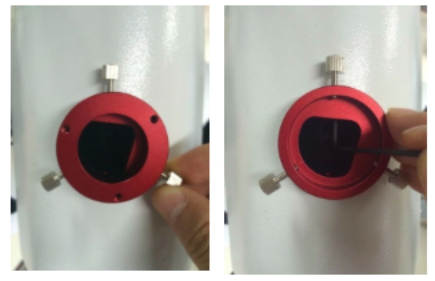
To install the mount ring, simple insert it into the aperture / hole of the polar scope. Occasionally, the fit can be very snug due to variations in the thickness of paint that is on the mount. You can either scrap off some paint or use a rubber mallet to gently push the ring squarely into the polar scope aperture. One the ring sits squarely in the aperture, secure the ring to the aperture using by tightening the grub screws using the allen key provided from within the aperture of the adaptor ring. You only need to perform this step on your first use.
Attach the camera disc to the back of the camera body using the bolts provided. You only need to perform this step on your first use.
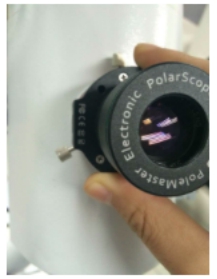
In use, place the camera (with its camera base disc attached) onto the mount ring and secure the camera in place by tightening the thumbscrew. The USB port of the camera should be directed to the left side when you are facing the camera.
When not in use, you can either leave the camera on the mount attached; alternatively, you can remove the camera (with its camera base disc) from the mount ring by loosening the thumbscrew. Always protect the camera lens using the screw-on lens cap when not in use. If you choose to remove the camera, you may also want to prevent ingress of dust, dirt, bugs, etc into the mount through the mount ring by covering the mount ring opening with the adaptor cap provided.